How to add or edit locations
Modified on Mon, Jun 1 at 10:39 AM
How to Add or Edit Locations
A quick guide for store staff on managing backstock locations in ResaleAI.
Before You Start: A Few Notes on Locations
Every bin needs a home.
Locations represent the physical places where your bins are stored — like a Backroom, Storage Unit, or similar space. Each bin is always assigned to a location, and moving a bin through your workflow means moving it from one location to the next.
Floor is a special location.
Floor is the terminal location for a bin. Once a bin moves to the sales floor, it's considered emptied and ready to be reused. Because of this, Floor does not have a "Next Location."
Most locations have a Next Location.
For every location except Floor, you can assign a "Next Location." This lets staff move a bin to the next stop in its journey with a single tap — no typing required. For example, the Next Location for Backroom is often Floor.
How to Add a Location
You'll need an owner or manager login to follow these steps.
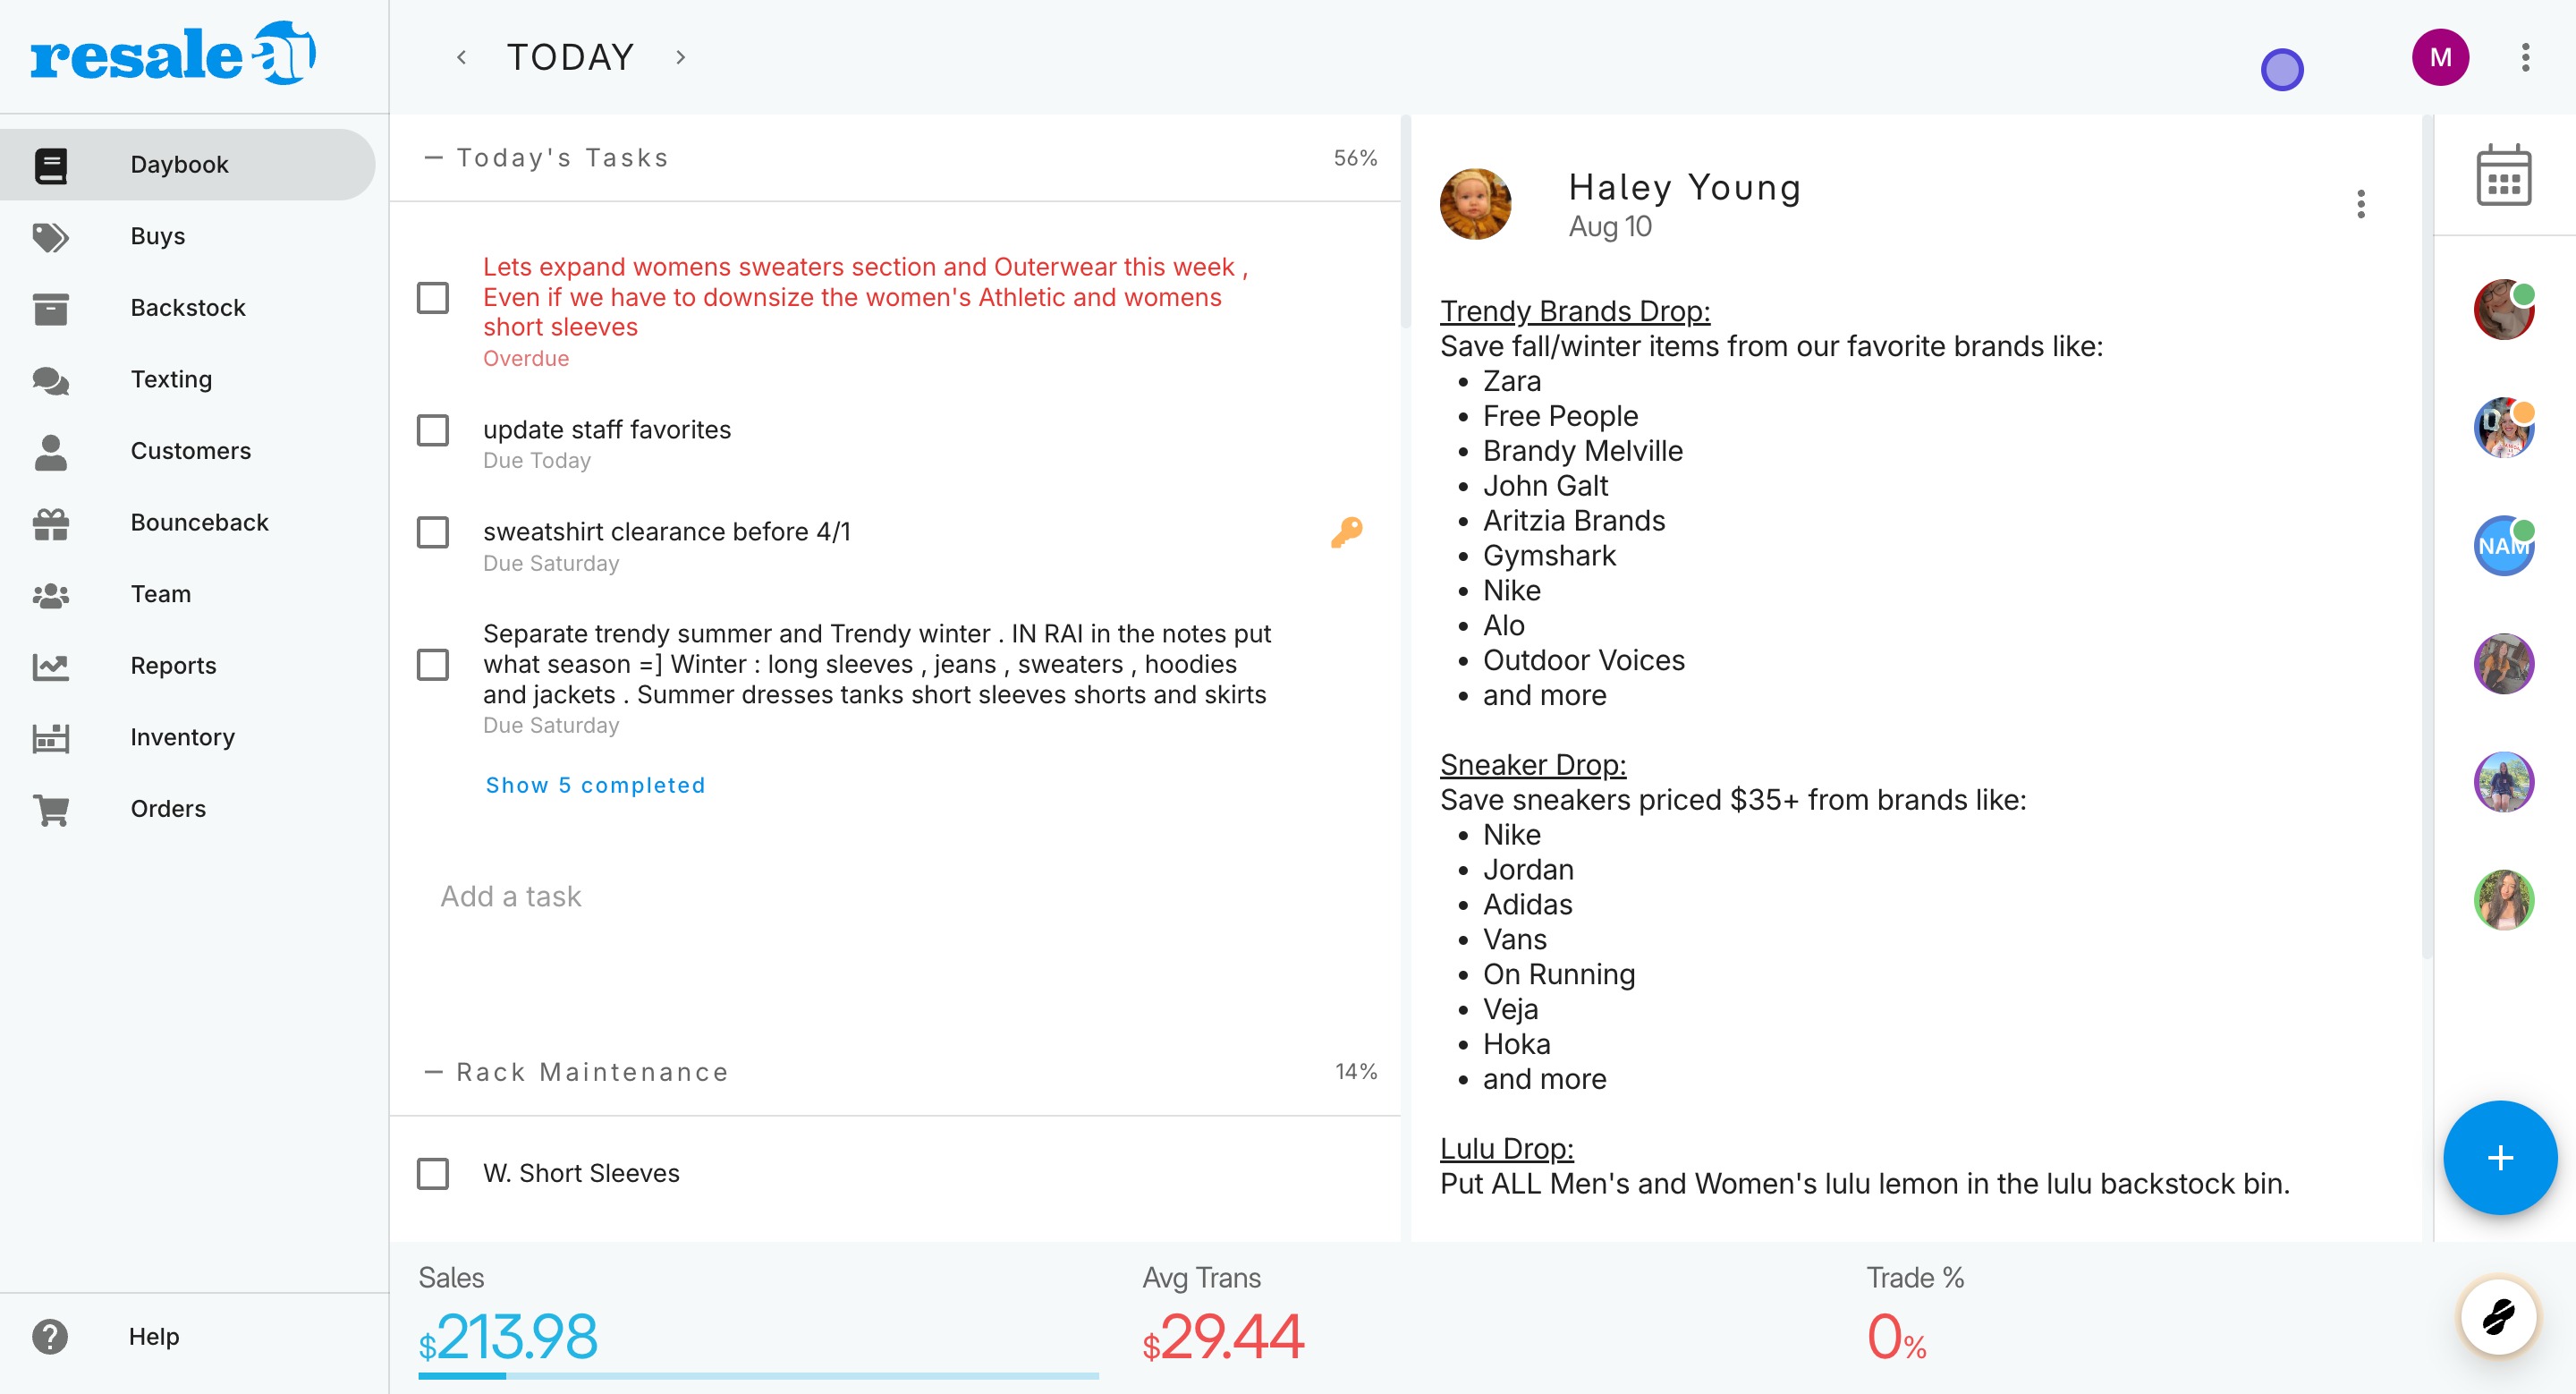
1. Log in to ResaleAI
Sign in at team.resaleai.com using an owner or manager account.
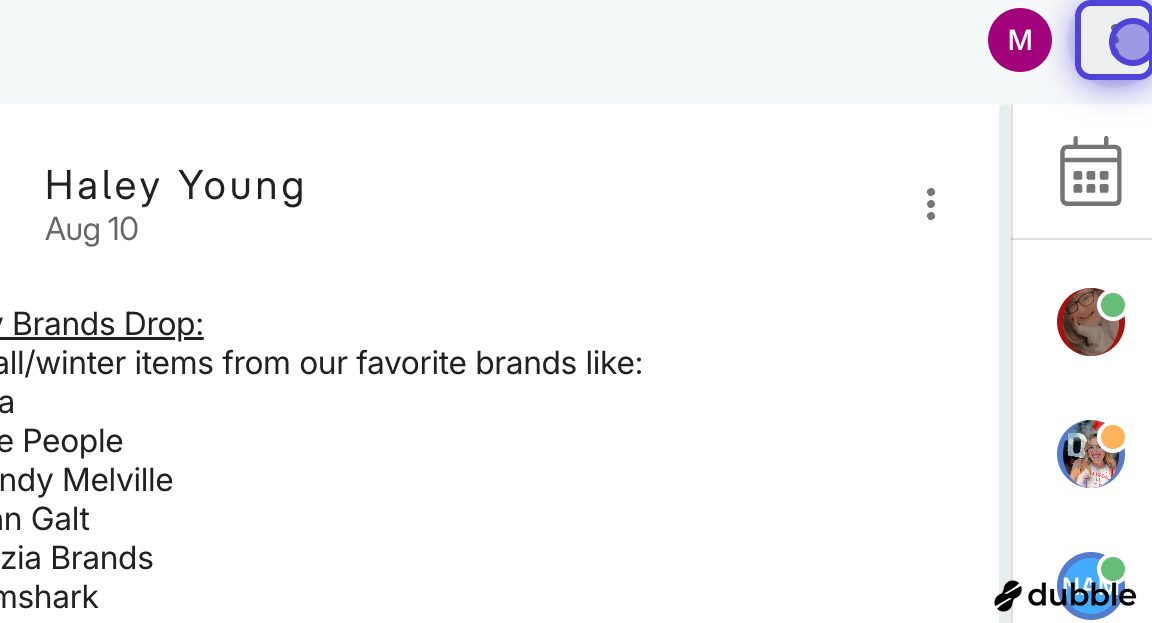
2. Open the menu
Click the three dots in the upper right-hand corner of the screen.
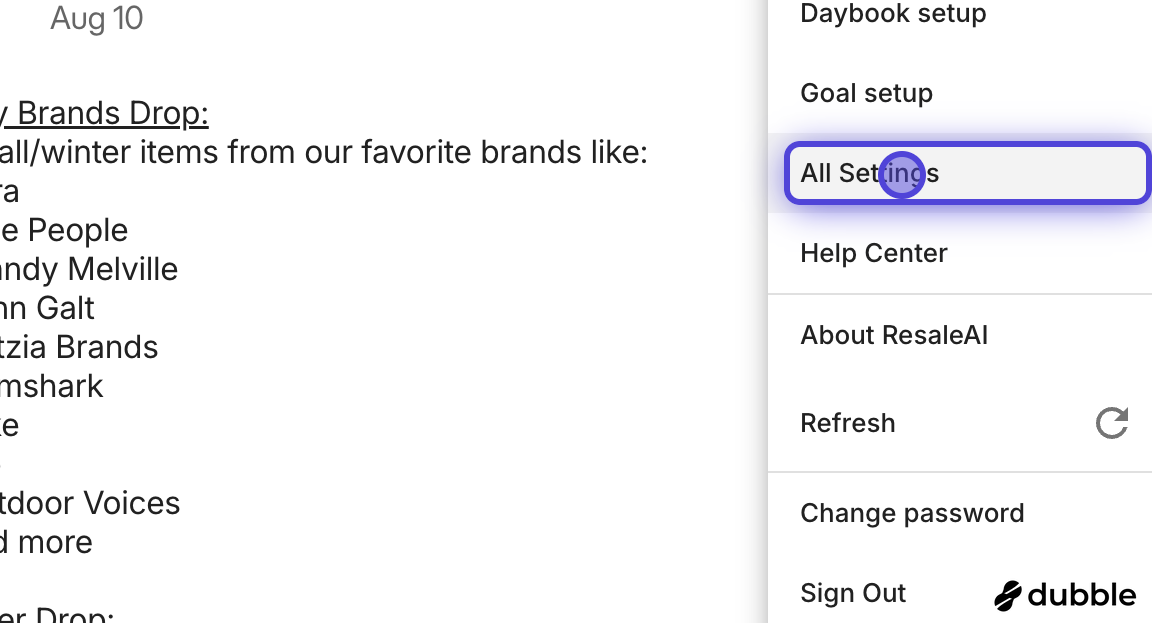
3. Click All Settings
In the menu that appears, select All Settings.

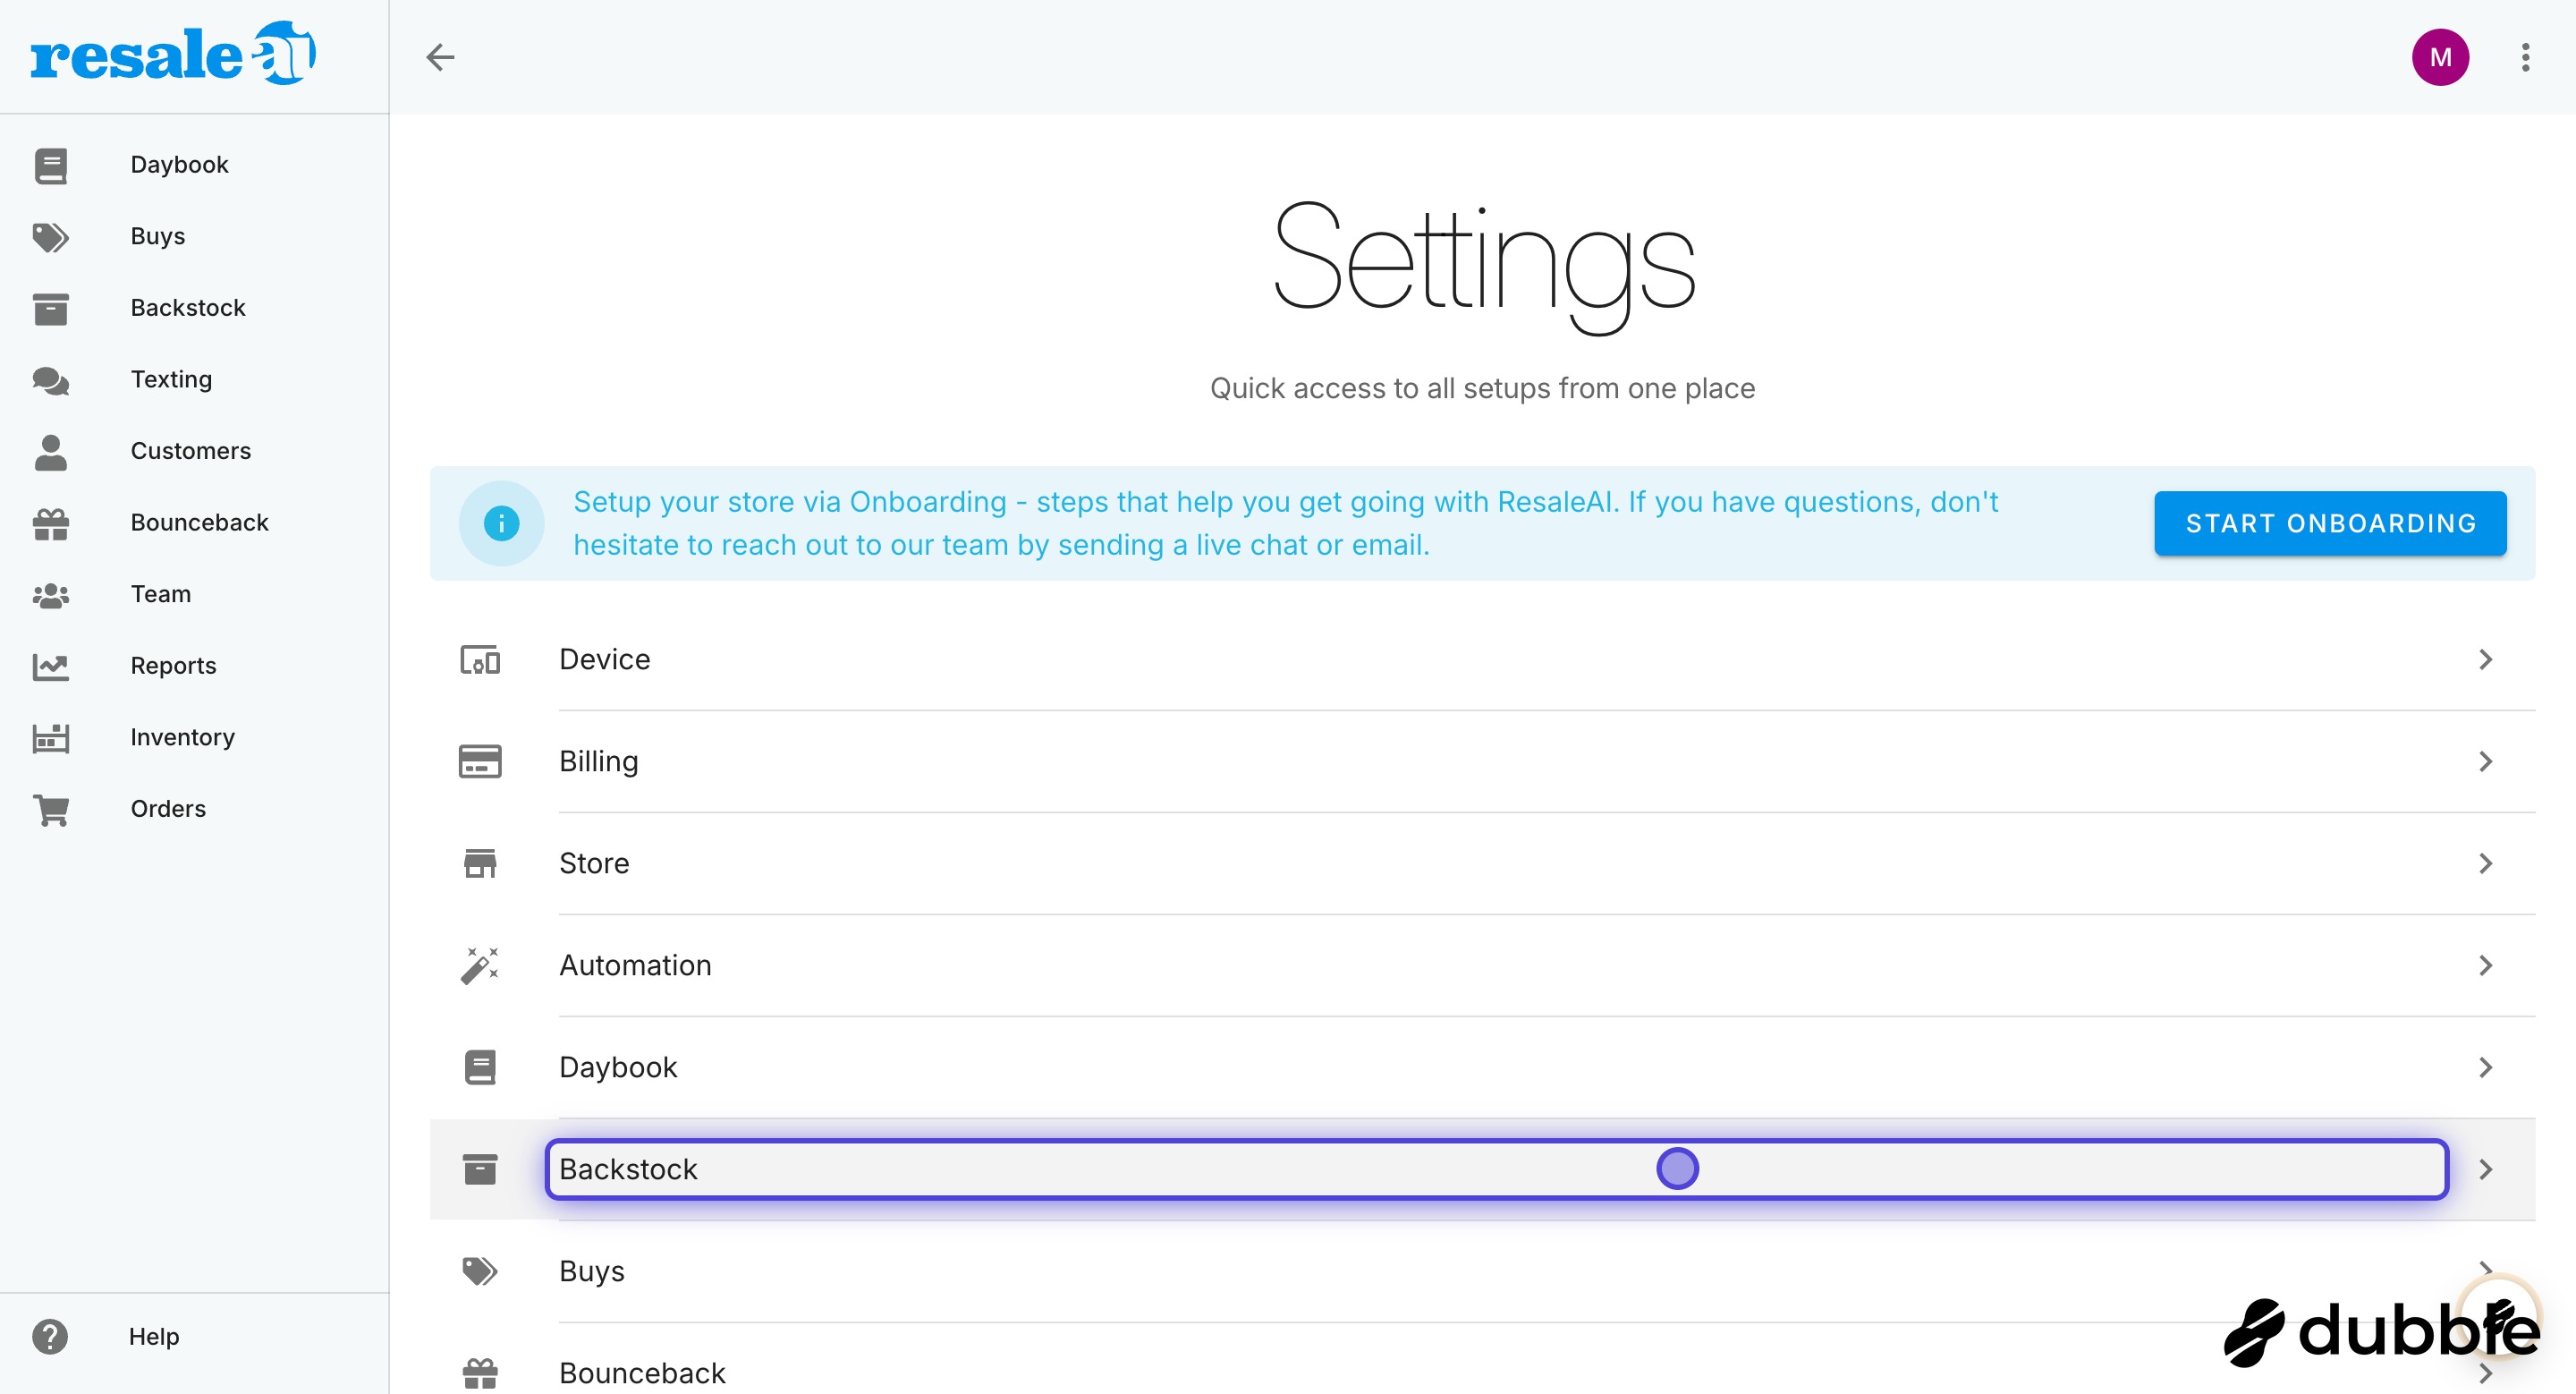
4. Click Backstock
From the Settings list, click Backstock.
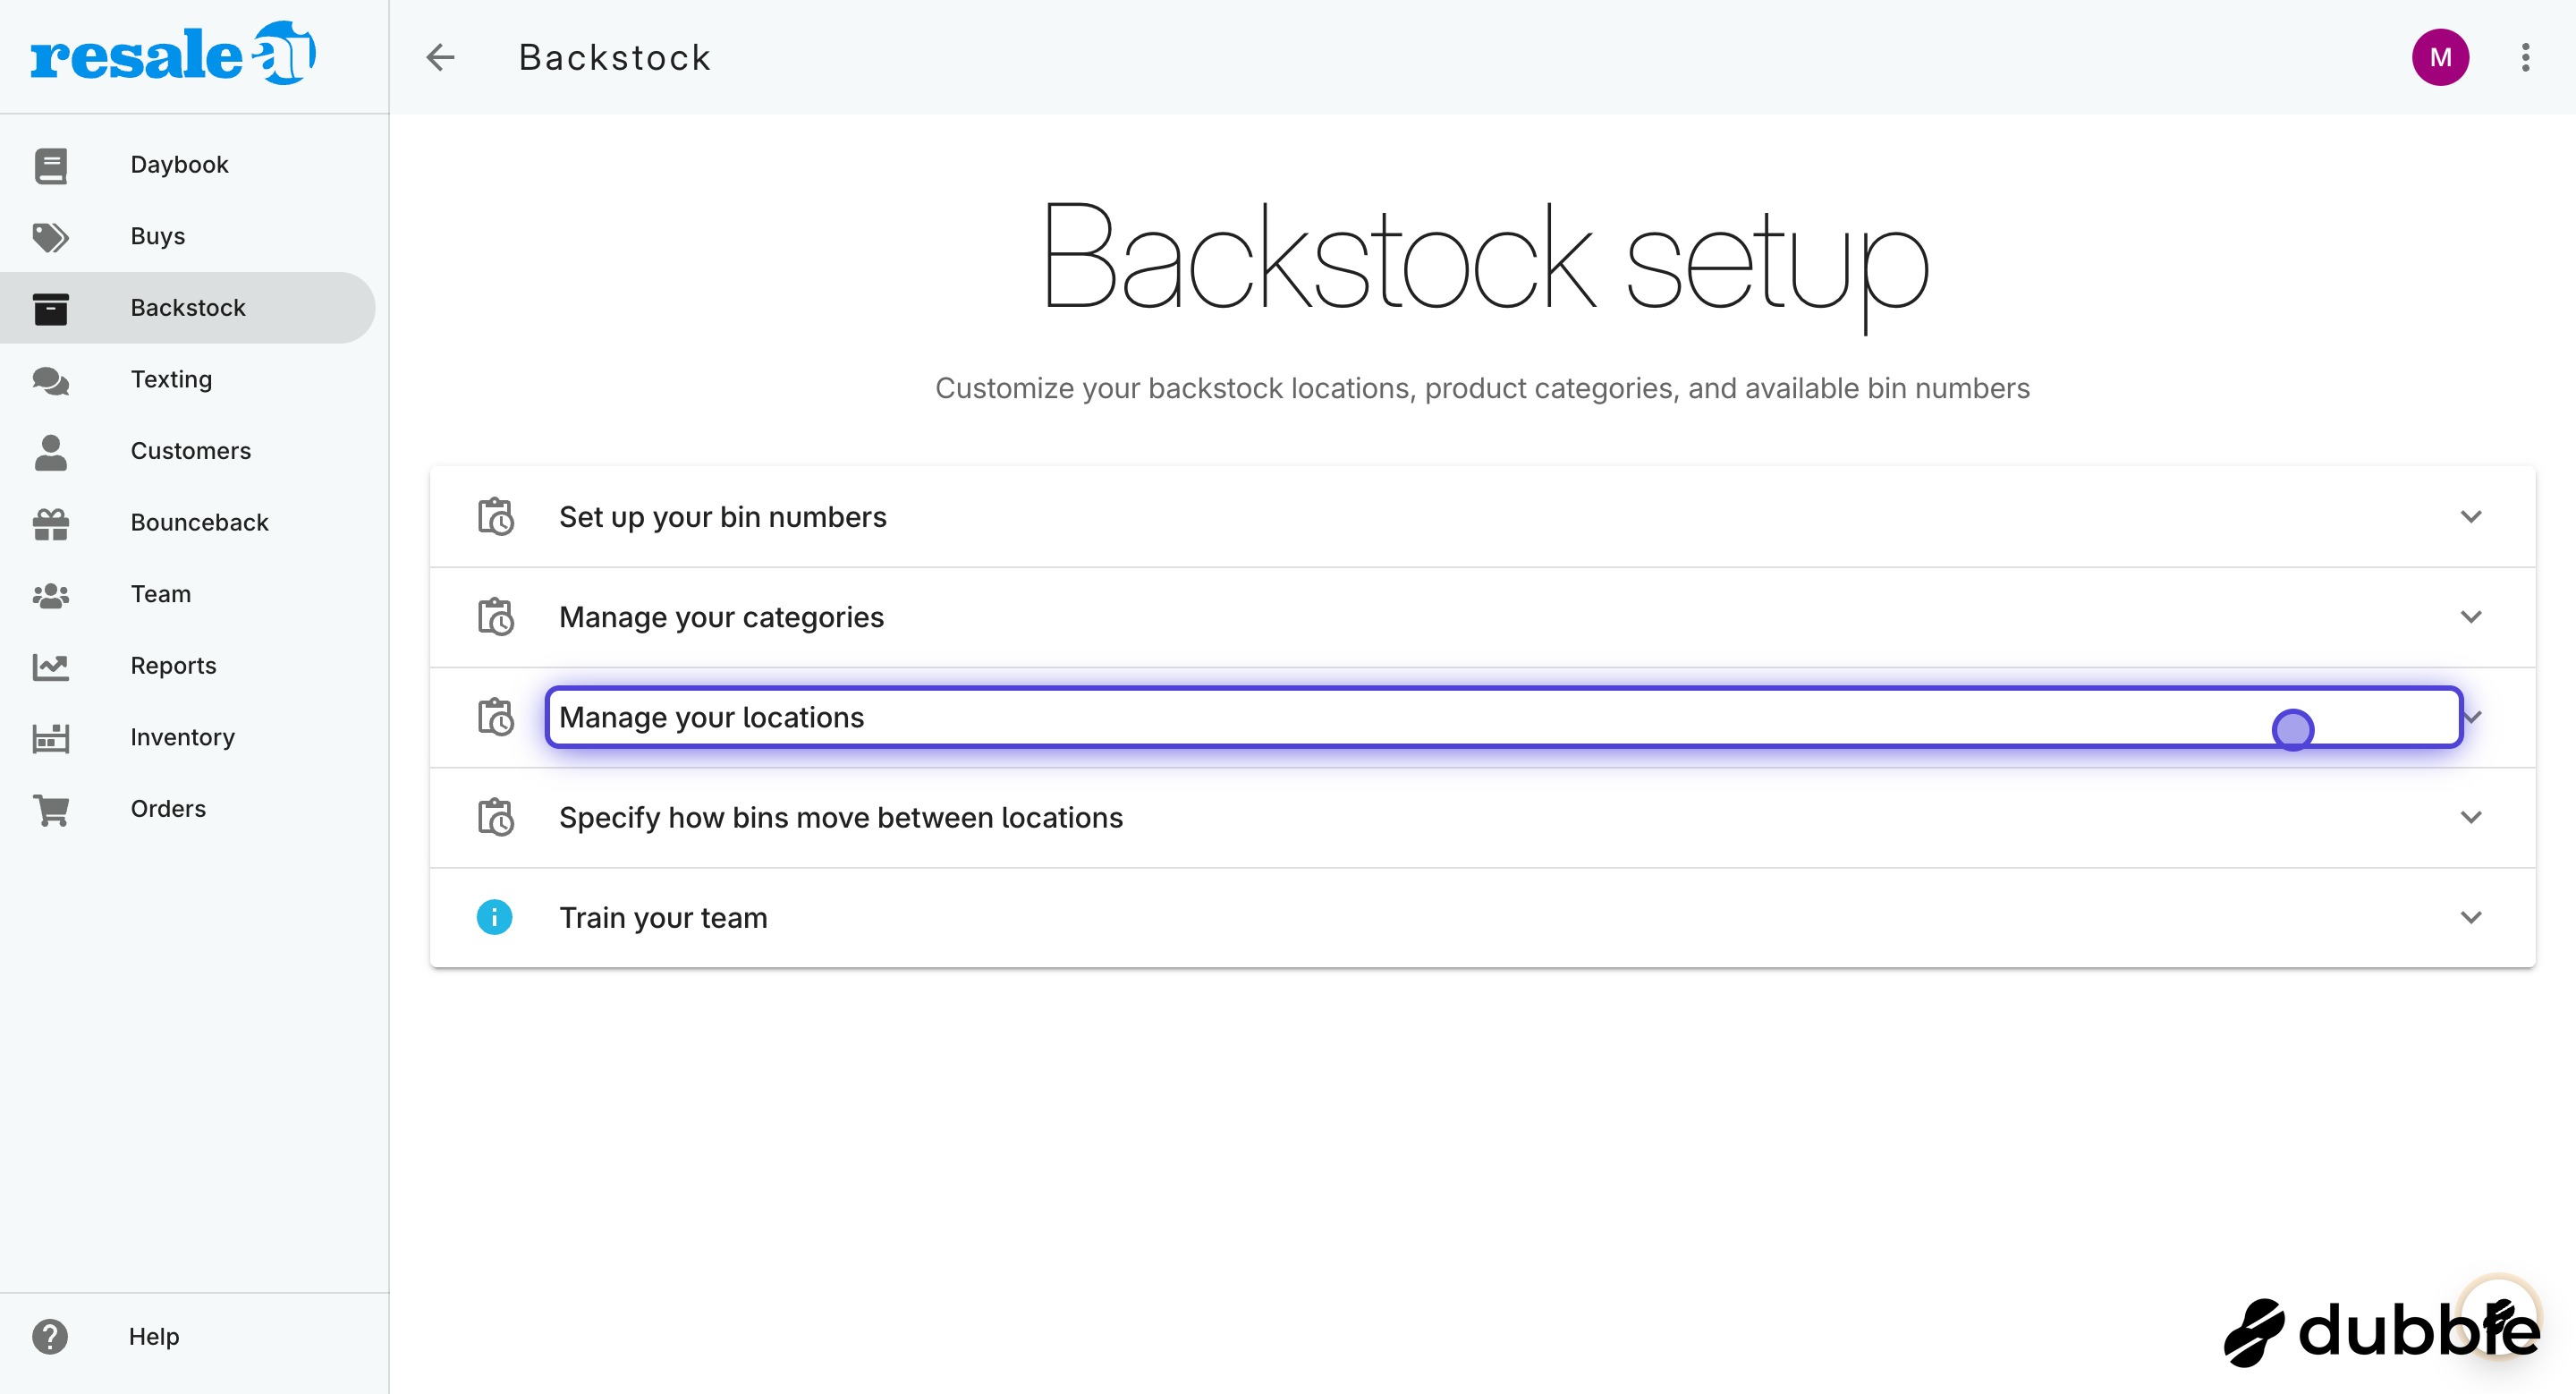
5. Click Manage your locations
On the Backstock settings page, click Manage your locations.

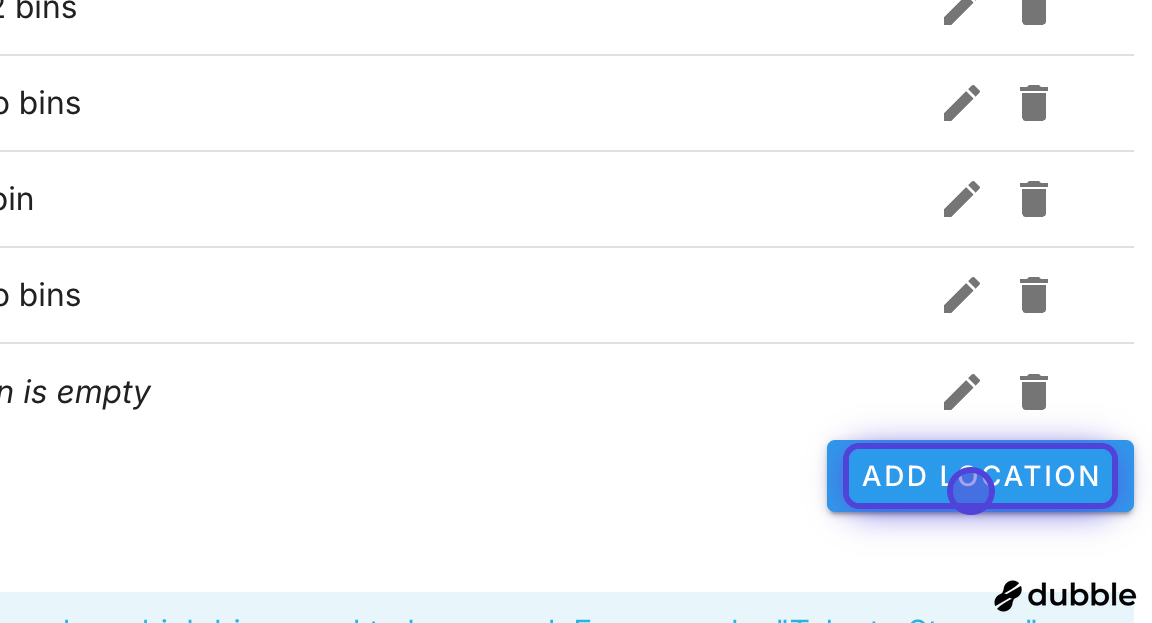
6. Click ADD LOCATION
Click the ADD LOCATION button.
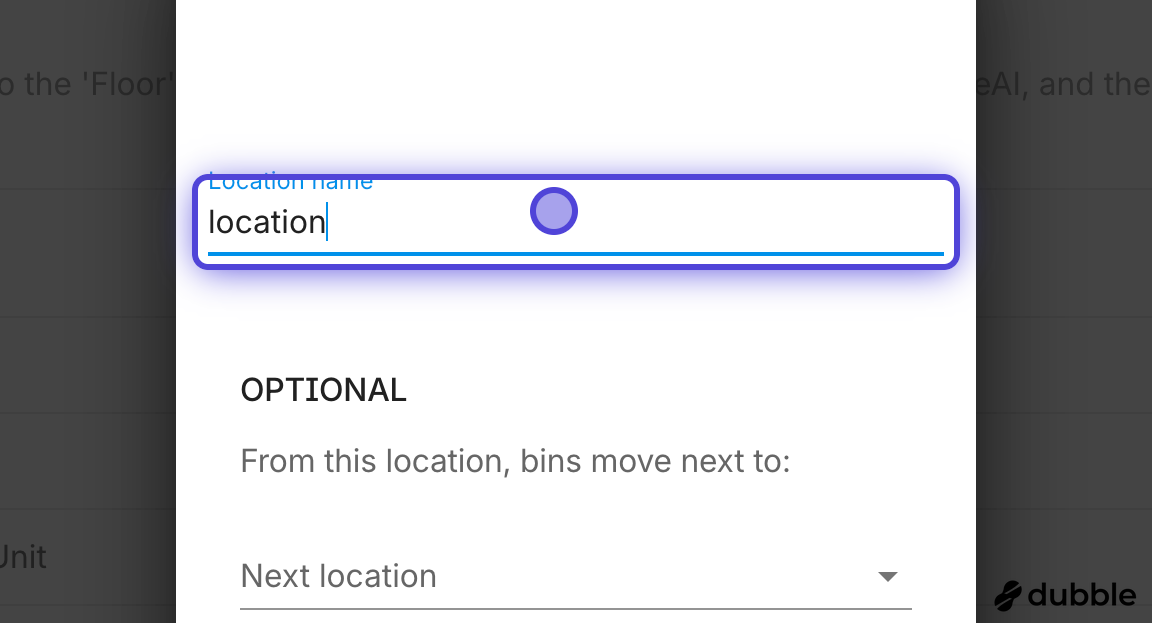
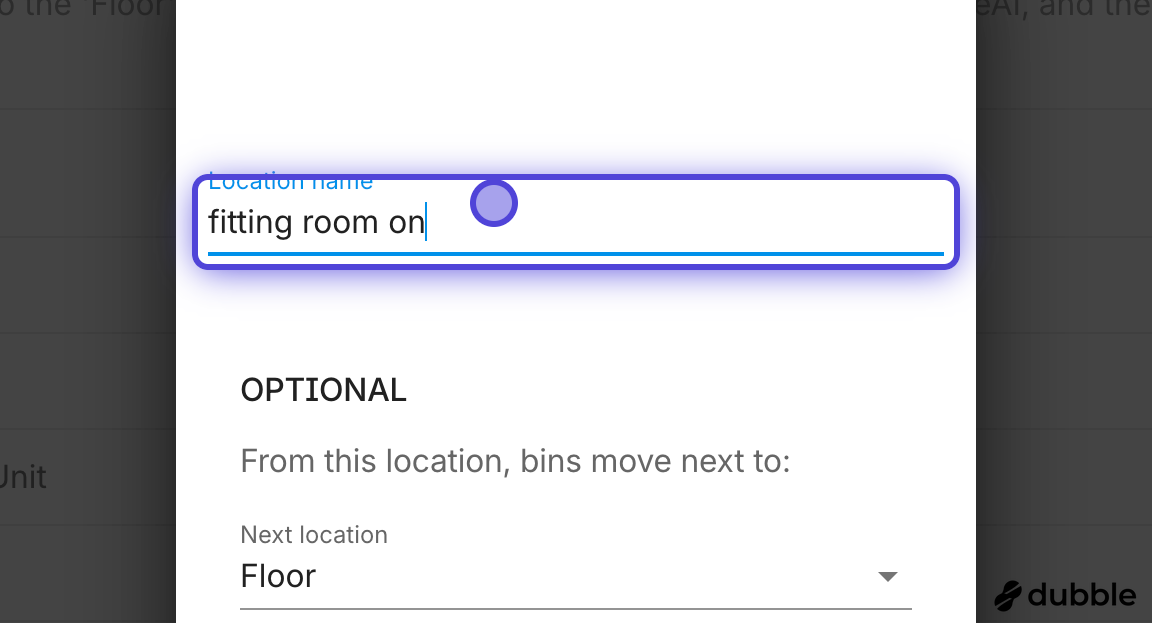
7. Type in your location name
Enter the name for the new location — for example, "Backroom" or "Storage Unit 2."
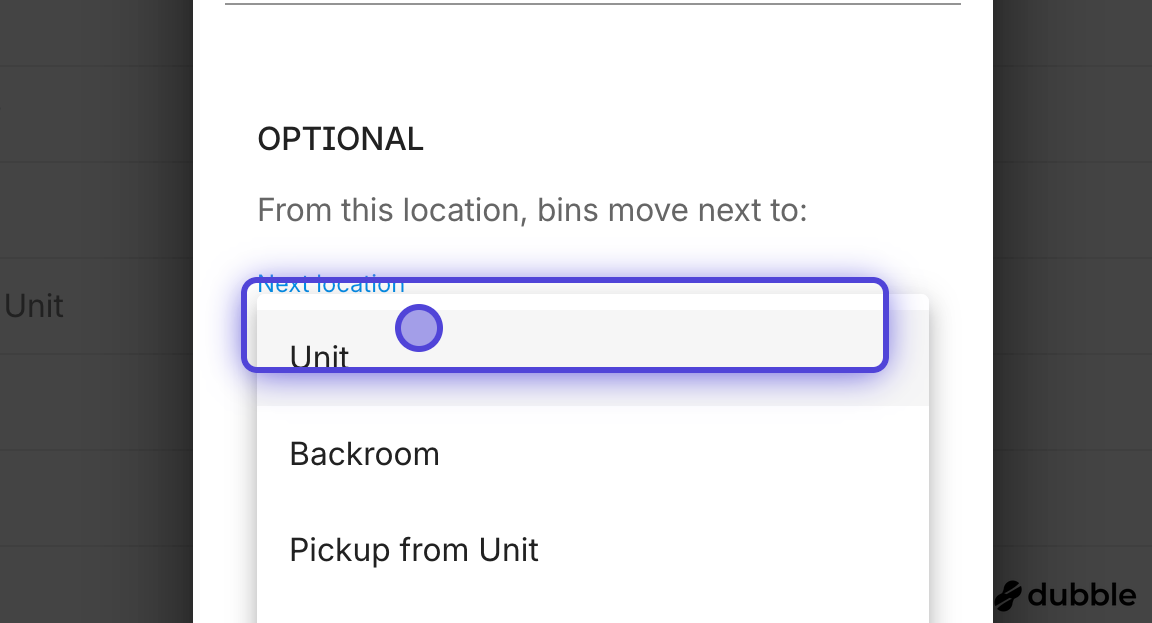
8. Pick the Next Location
Choose which location a bin should move to after this one. This is what staff will advance to when they tap the Next Location button on a bin.
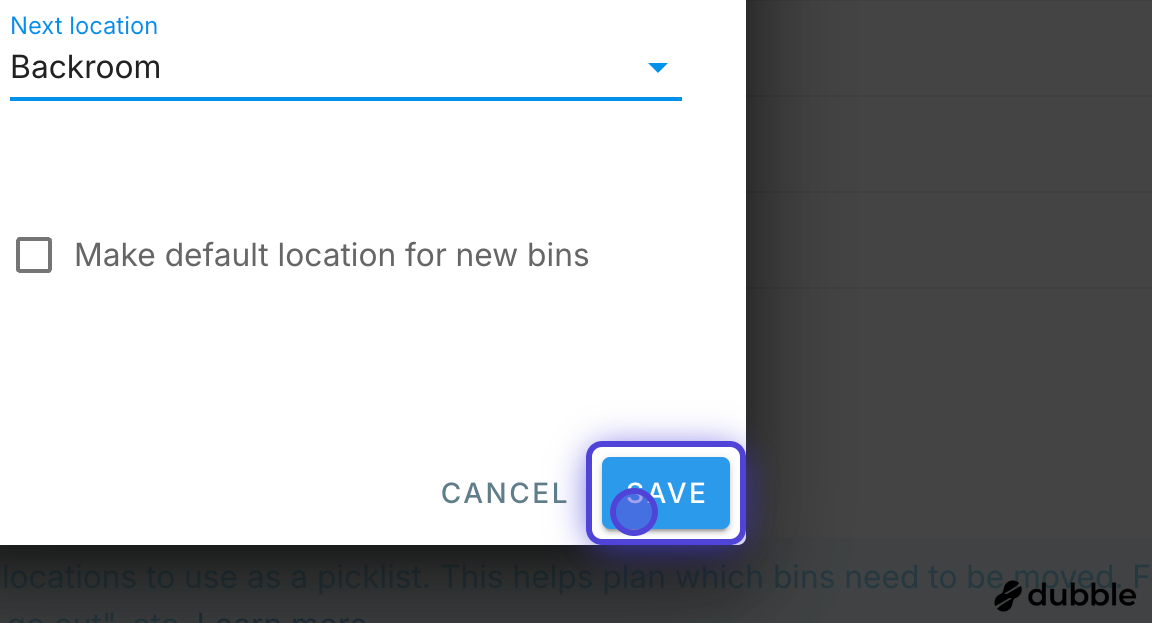
9. Click SAVE
Click SAVE to finish. Your new location will now appear in the locations list.
How to Edit a Location
You'll need an owner or manager login to follow these steps.
1. Log in to ResaleAI
Sign in at team.resaleai.com using an owner or manager account.
2. Open the menu
Click the three dots in the upper right-hand corner of the screen.

3. Click All Settings
In the menu that appears, select All Settings.
4. Click Backstock
From the Settings list, click Backstock.

5. Click Manage your locations
On the Backstock settings page, click Manage your locations.
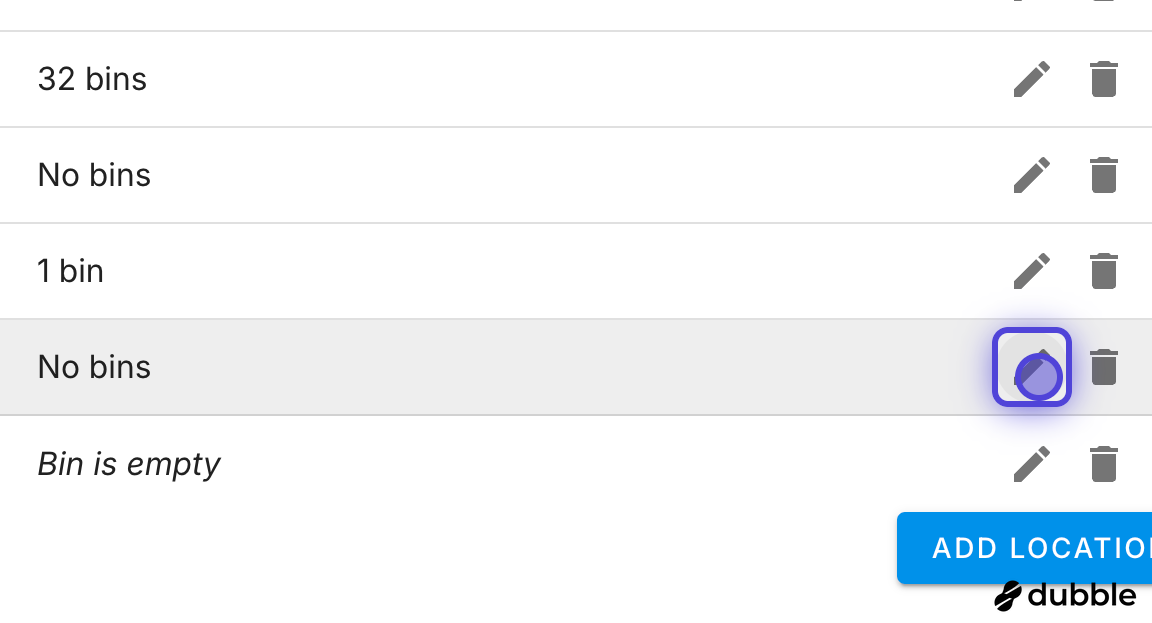
6. Click the pencil icon
Find the location you want to edit and click the pencil icon beside it.
7. Make your changes
Update the location name, the Next Location, or both.
8. Click SAVE
Click SAVE to apply your changes.

Having trouble with Backstock?
Click the support button at the bottom of the screen. We're happy to help!
Thanks for using ResaleAI!
Was this article helpful?
That’s Great!
Thank you for your feedback
Sorry! We couldn't be helpful
Thank you for your feedback
Feedback sent
We appreciate your effort and will try to fix the article